





















Star Citizen Mining Rocks: Mass, Resistance, Instability and Composition

Learn what the rock is telling you before committing the laser—and why an easy fracture and a worthwhile load are two different decisions.
You have found a promising deposit, brought the laser to bear, and watched the charge barely move. Another rock of a similar size breaks without much fuss. Mining starts to make sense when you stop treating those two rocks as equivalent: mass, resistance, instability and composition describe different parts of the job.
The readings help answer two separate questions. Can your equipment fracture this deposit under control? And is the material inside worth taking home? A rich rock that you cannot safely break is no more useful to your current run than an easy rock full of material you do not want.
Four readings, four different questions
Mass
How much rock are you trying to break? It helps describe the scale of the deposit, but is not a standalone difficulty rating.
Resistance
How strongly does the deposit resist your laser’s energy? Greater resistance makes raising its charge harder with the same equipment.
Instability
How difficult is the energy to control? A rock that responds unpredictably can be troublesome even when you have enough power to charge it.
Composition
What is inside? The material percentages help you judge the contents, rather than whether your laser can fracture the rock.
Read them together. “Big” does not automatically mean “good”, and a tempting mineral percentage does not make the fracture easier. Your laser and its fitted equipment are the other half of that assessment. There is no useful universal mass limit that covers every mining setup and every deposit.
When the laser is working but the charge is not
Resistance is easy to confuse with instability because both can make a deposit frustrating. They create different problems. A resistant rock can be difficult to push into the useful charge range at all. An unstable one can be difficult to keep there once the energy begins moving.
If the charge barely rises, repeatedly applying more power is not a complete diagnosis. Check that the rock has been scanned, that you are using fracture rather than extraction mode, and that the mining equipment is operating as expected. Then consider the deposit against your setup. A laser that was comfortable on the previous rock does not promise the same result here.
Equipment descriptions matter more than a fashionable loadout name. When choosing a mining head or fitted modules, look at the stated effects on power, resistance, instability and the operating window together. More power can help with charging, but it is not a substitute for control. Exact values and combinations change with balance updates, so a build copied from an old video deserves another look before you rely on it.
The green zone is where the work happens
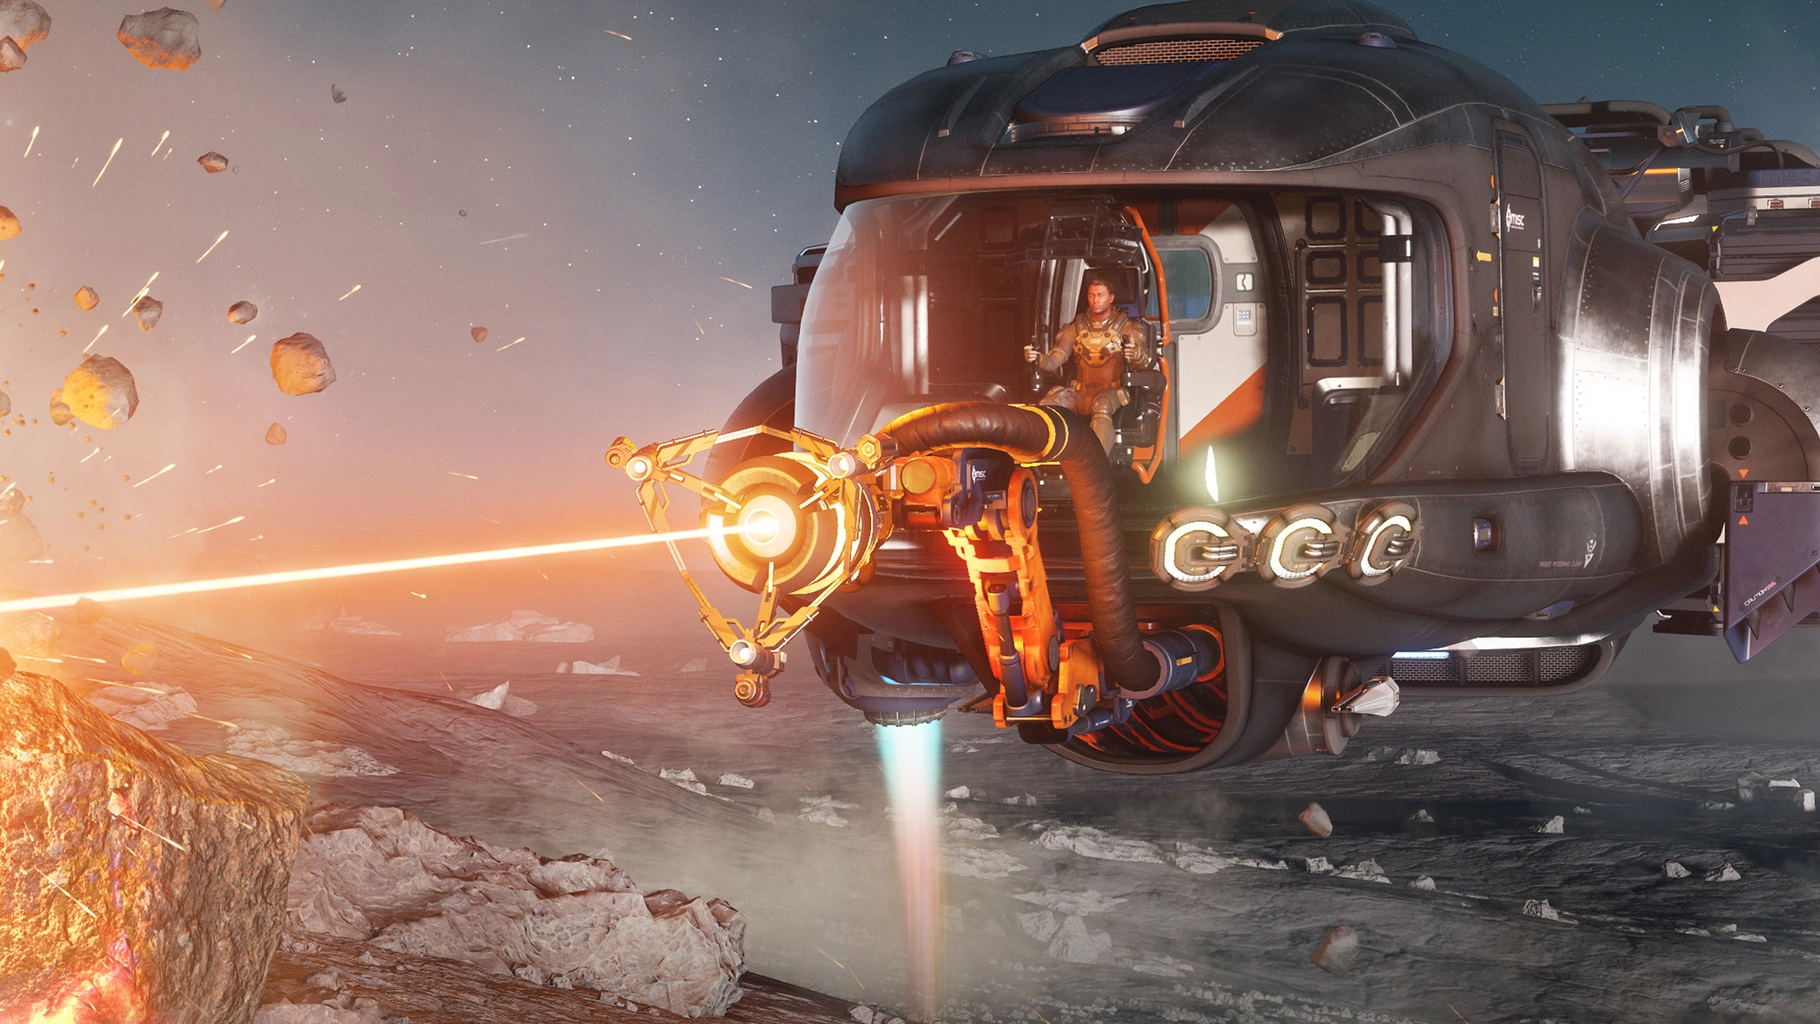
Fracturing is a controlled application of energy. Bring the rock into its optimal charge range and keep it there while the fracture progresses. There is no benefit in racing through that range into an overcharge simply because the laser can do it.
Watch the rock’s response as you adjust the throttle. The setting that gets the charge moving is not necessarily the setting that will hold it in place. When the response becomes difficult to manage, reducing the input gives you room to regain control. If a deposit is beyond the equipment or crew available, leaving it for another miner is a sensible decision, not a failed run.
Power and control are separate problems. A rock that will not charge asks a different question from one that keeps surging out of the safe range. Identify which problem you have before changing equipment.
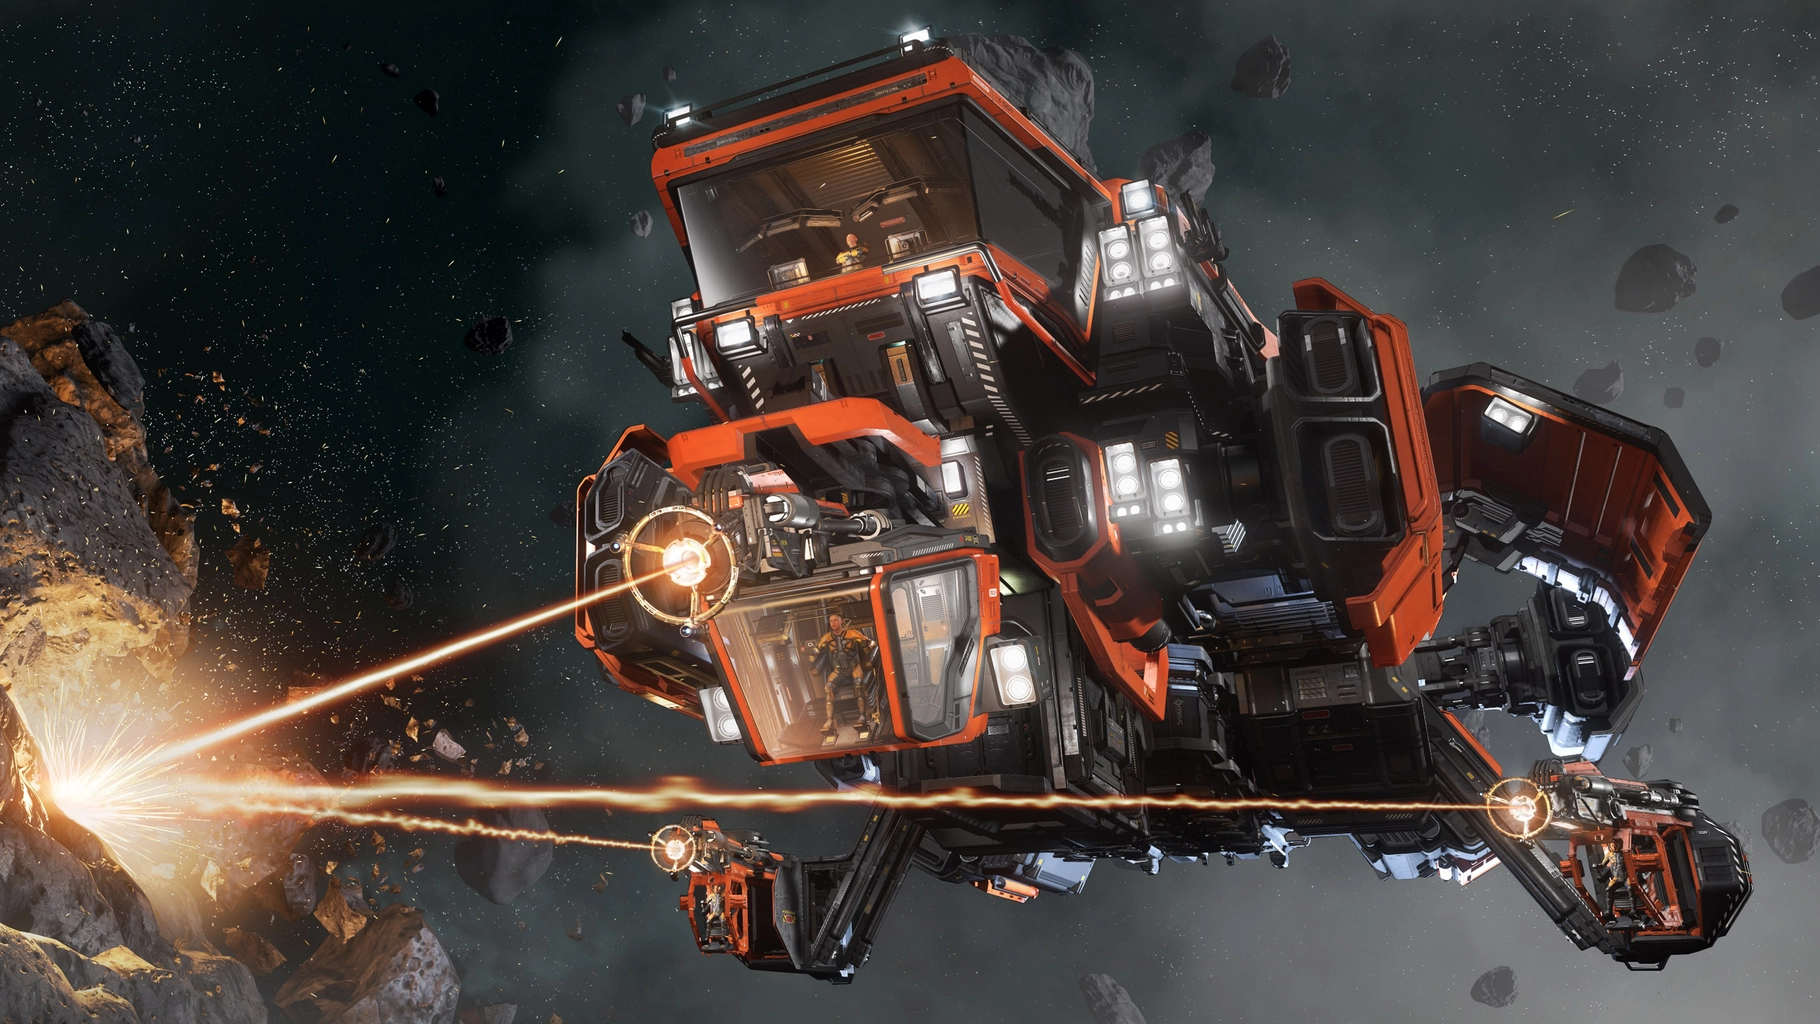
That distinction is especially useful with friends. Extra mining stations give a group more equipment to work with, but everyone still needs to respond to the same rock. One person calling the charge while others make coordinated changes is more useful than several operators each trying to correct it independently. The MOLE’s separate stations support shared work; they do not make the deposit safe by themselves.
Read the fragments before filling the hold
A successful fracture is an invitation to look again. Some pieces are ready for extraction; larger pieces can require another fracture. Their contents are now the immediate decision. Examine the fragment you are about to collect rather than assuming the original deposit’s headline percentage tells you everything about the next load.
Composition is a proportion, not a promise of a particular return. A small fragment with a high concentration and a much larger fragment with a lower concentration are not identical opportunities. What you want to collect, the room left aboard, and how much additional work the deposit needs all influence the choice.
This is where filling the hold as quickly as possible can work against you. Space taken by unwanted material is space you cannot use for the material you came to find. You do not need to chase a perfect deposit forever, but you should know what you are extracting before committing the remaining capacity.
For the difference between mining ships and their crew arrangements, our Golem, Prospector and MOLE comparison covers the hull choice. This guide is about judging the rock in front of that hull: changing ships will not remove the need to scan, control the fracture and choose the fragments.
A good load still needs a way to market
Once the bags are full, the next decision is what to do with the material. Unrefined ship-mined ore does not follow the same sales route as hand-mined gems. Our refinery guide takes the run through work orders, processing choices and collection, including why your mining ship’s ore capacity is not a replacement for a freighter’s cargo grid.
That is where a friend with a hauler can contribute without owning another miner. A solo pilot can handle both jobs at different times; a group can keep extracting while another player moves the finished output. In either case, leave room in the plan for collection and delivery rather than treating a full mining hold as the finished job.
Common mining questions
Is high resistance the same as high instability?
No. Resistance concerns how effectively the rock resists the laser’s energy. Instability concerns controlling that energy. A deposit can challenge you in either way, or both.
Can I judge a rock by mass alone?
No. Mass gives you part of the picture. The other readings and your fitted mining equipment determine whether the deposit is a reasonable target. Treat a quoted maximum mass as a claim about a particular setup, not a rule for every rock.
Does a high mineral percentage mean I should mine it?
Only if the material is useful to your run and the fracture is manageable. Consider the work needed to obtain it and the space you have left, then inspect the fragments after the break.
Should I collect every fragment?
Not automatically. Check the contents and whether each fragment is ready for extraction or needs more fracturing. Selective collection lets you make better use of the space aboard.

Make your next mining run count
Find your Prospector, MOLE and more at The Impound.
Browse mining ships