


Design Brief: Medical Gameplay
Out in the 'verse, I don’t just plan for dogfights—I plan for dumb luck. A bad landing, a stray round, or one misstep can end your run faster than a size-9 to the canopy. Medical gameplay is the difference between limping home and waking up wondering who nicked your armor. Below, I walk you through injuries, stabilization, tools, beacons, beds, and the ships that keep you ticking.
Note: This covers functionality around Alpha 4.3.1 PTU. If you’re new to med work, use the in-game Guide System to pair up with a veteran—trust me, it saves trial and (painful) error.
Injuries
Tier 3: Minor Injury
- Arms: Weapons become harder to aim, melee damage is impaired, and injuries stack to reduce your overall health pool.
- Legs: Reduced movement speed and cumulative health pool reduction.
- Torso: Lower stamina and regen, audible wheezing, and cumulative health pool reduction.
- Head: Blurred vision, muffled audio, weaker impact resistance, slower stun recovery, plus cumulative health pool reduction.
Minor injuries can be treated on-site or at any medical bed. They don’t require stabilization.

Tier 2: Moderate Injury
- Arms: More severe impairments plus inability to throw items.
- Legs: More severe impairments, triggering a hurt locomotion effect with limping and audible grunts.
- Torso: More severe impairments and coughing up blood.
- Head: More severe impairments.
Moderate injuries can have their symptoms stabilized by on-site treatment or a medical bed of any size, but require a Tier 2 unit or better to heal.

Tier 1: Severe Injury
- Arms: Increasing severity, adds hurt locomotion and arm lock so you can’t hold objects or weapons.
- Legs: Forces you prone with no ability to stand or crouch.
- Torso: Increasing severity plus hurt locomotion.
- Head: Increasing severity plus hurt locomotion.
Severe injuries can be stabilized, but you’ll need a Tier 1 unit (or better) to heal completely.

On-Site Treatments
When I’m running support—or just trying to keep myself functional—I pack the right tools. They buy you time, and sometimes that’s all you need.
Tools of the Trade
 |
Medical Pens: Quick, single-use injections. |
 |
Multi-Tool (with Hemozal attachment): Simple stabilization capability. |
 |
Curelife Medical Tool: Full diagnostic and multi-drug treatment device. |
Drugs, Stabilization & Blood-Drug Level
Stabilization
Stabilization buys you a window to move, fight, or extract. It suppresses symptoms temporarily—but it’s not a cure. Think duct tape on a coolant hose: good enough to reach the pad, not a long-term fix.

Blood-Drug Level (BDL)
Your BDL sits next to your health on the helmet HUD. Cross 50% of max and you’re overdosed: blurred vision, slower traversal, weapon sway, erratic piloting, and slow damage over time until mitigated.
Drug Reference
Hemozal
|
Stops bleeding, restores health to the current max, revives from incapacitation. |
Demexatrine
|
Relieves muscle fatigue & concussion symptoms. |
Roxaphen
|
Alleviates movement-hindering symptoms. |
Sterogen
|
Relieves muscle weakness & respiratory damage. |
Resurgera
|
Reduces BDL over time / overdose symptoms. |
Canoiodide
|
Reduces radiation symptoms. |
Using the Curelife Medical Tool
- Basic mode: Quick application of Hemozal, just like the Multi-Tool.
- Advanced mode: Manual dosing of five drugs (all except Canoiodide).
- Controls: Raise with RMB, then hold F to adjust settings on the screen.

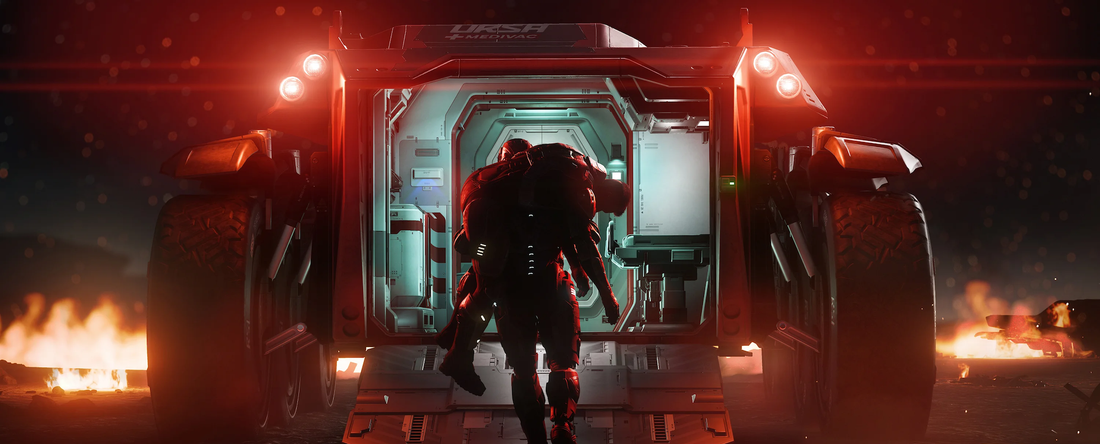
Incapacitation & Rescue Beacons
When health hits 0%, you’re down and the clock starts. Friends can jab Hemozal to get you upright. If you’re alone, hold M to create a Rescue Beacon in your Contracts Manager.
- Payout: Automatically set to 15,000 aUEC, paid on successful revival/rescue.
- Responders can: Treat on-site, move you to a ship med bed, or drop you at emergency medical intake in hangars attached to medical facilities.
- If the timer runs out: You regenerate at your imprint location; your old body is lootable—so maybe don’t nap in a hostile outpost.
![]()
Medical Beds
Medical beds are your automated doc: diagnose, stabilize, heal (by tier), clear overdosed drugs, set regen, and brief you after a death. Most have a Digital Medical Assistant at the foot or overhead. To help another player, drag them close and choose Place In Bed.
Tier 3
- Stabilize, restore health, heal minor (T3) injuries, and regenerate imprinted players within 50,000 meters.
Tier 2
- Everything in Tier 3 plus heal moderate (T2) injuries; regenerate within 8,000,000 meters.
Tier 1
- Full capability; heals severe (T1) injuries; regenerate within 150,000,000 meters.
MedGel & You
MedGel powers the lot—from handheld tools to the beds that bring you back. I carry small canisters personally and stash larger ones aboard med-equipped ships. Handhelds reload like any weapon; beds reload via a full-size canister at the unit or nearby wall port.
- Consumption: Canisters are fully consumed; no need to remove empties.
- Capacities: T3: 100 cSCU • T2: 200 cSCU • T1: 400 cSCU
Healing Injuries with a Medical Bed
Restoring health and stopping bleeding is free. Healing injuries consumes MedGel as follows:
| MedBed Tier | Healing Cost | Maximum Injury |
|---|---|---|
| Tier 3 | 50 cSCU MedGel | Minor injuries. |
| Tier 2 | 50 cSCU MedGel | Minor & Moderate injuries. |
| Tier 1 | 50 cSCU MedGel | Minor, Moderate & Severe injuries. |
Imprinting & Regenerating on a Medical Bed
Imprinting records where you’ll regenerate after death. By default, you’re bound to your home hospital, but you can set a hospital, clinic, or any ship/vehicle with a medical bed—provided it has enough MedGel.
- Regeneration can fail and send you home if the bed is destroyed, out of MedGel, or outside its effective range.
| MedBed Tier | Regeneration Cost | Regeneration Range |
|---|---|---|
| Tier 3 | 100 cSCU MedGel | Within 50,000 meters. |
| Tier 2 | 100 cSCU MedGel | Within 8,000,000 meters. |
| Tier 1 | 100 cSCU MedGel | Within 150,000,000 meters. |
Ships of the Trade
Here are some of the heavy-hitting medical ships available now at The Impound
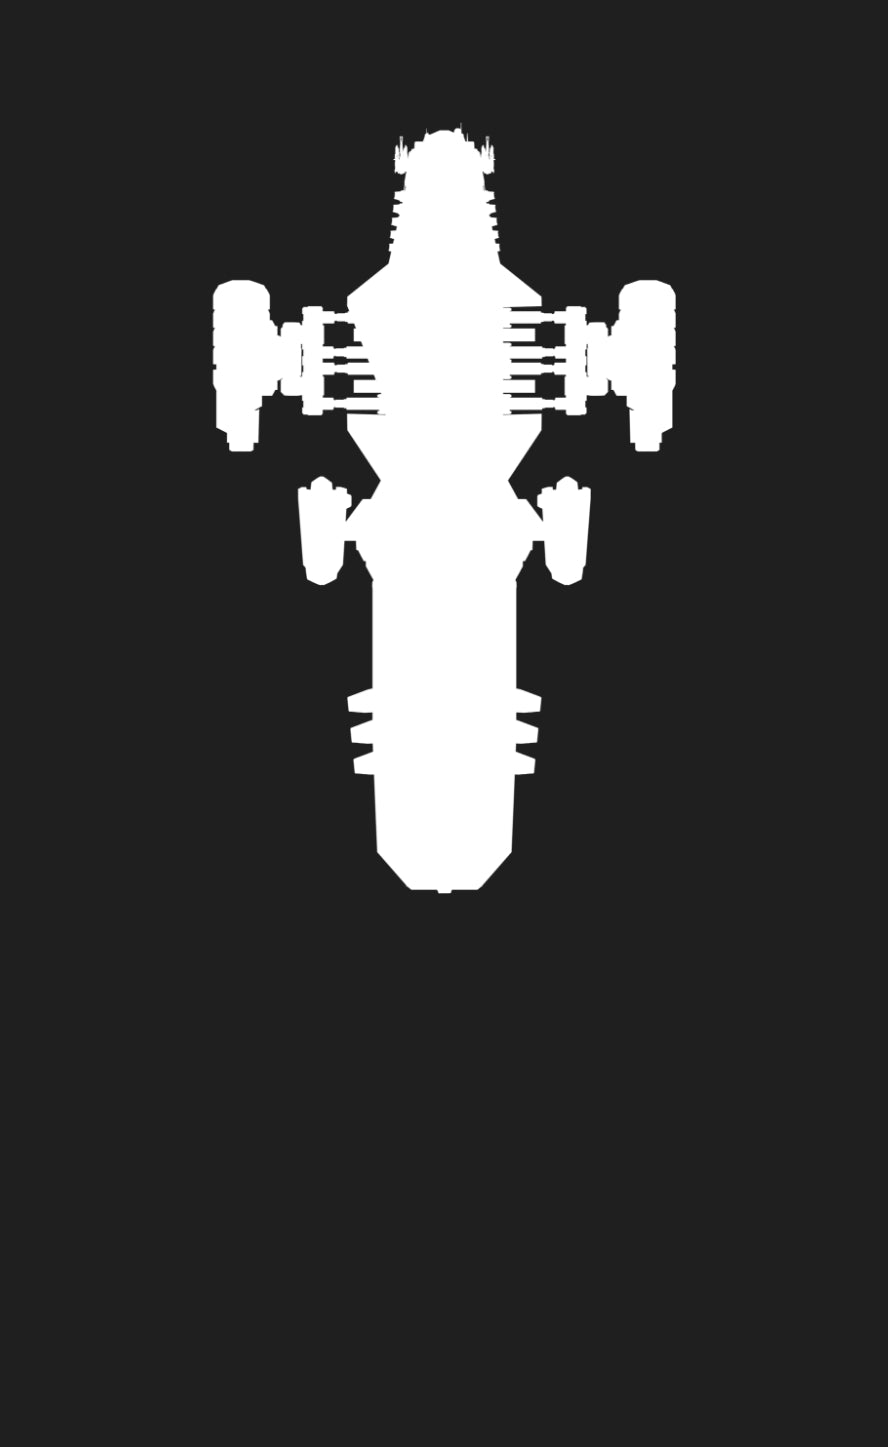
-
RSI Apollo Medivac and Triage
Industry standard for over two centuries. Modular room system supports 2x Tier 1, 4x Tier 2, 6x Tier 3 beds, or a custom mix.
-
Anvil Terrapin Medivac
Rugged rescue variant with 2x Tier 2 beds.
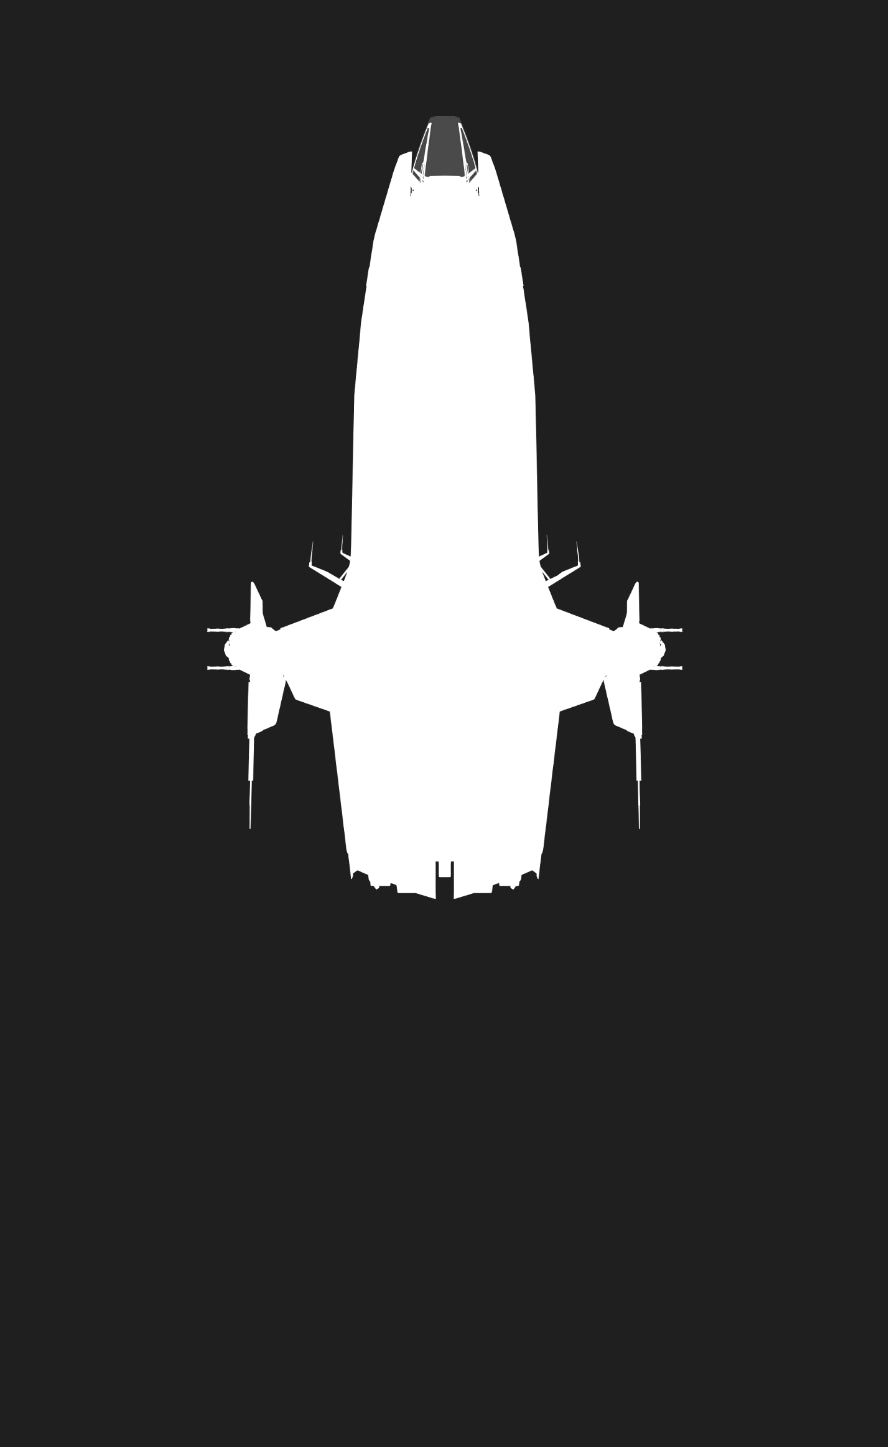
-
Drake Cutlass Red
Space ambulance with hefty shields and 2x Tier 3 beds.
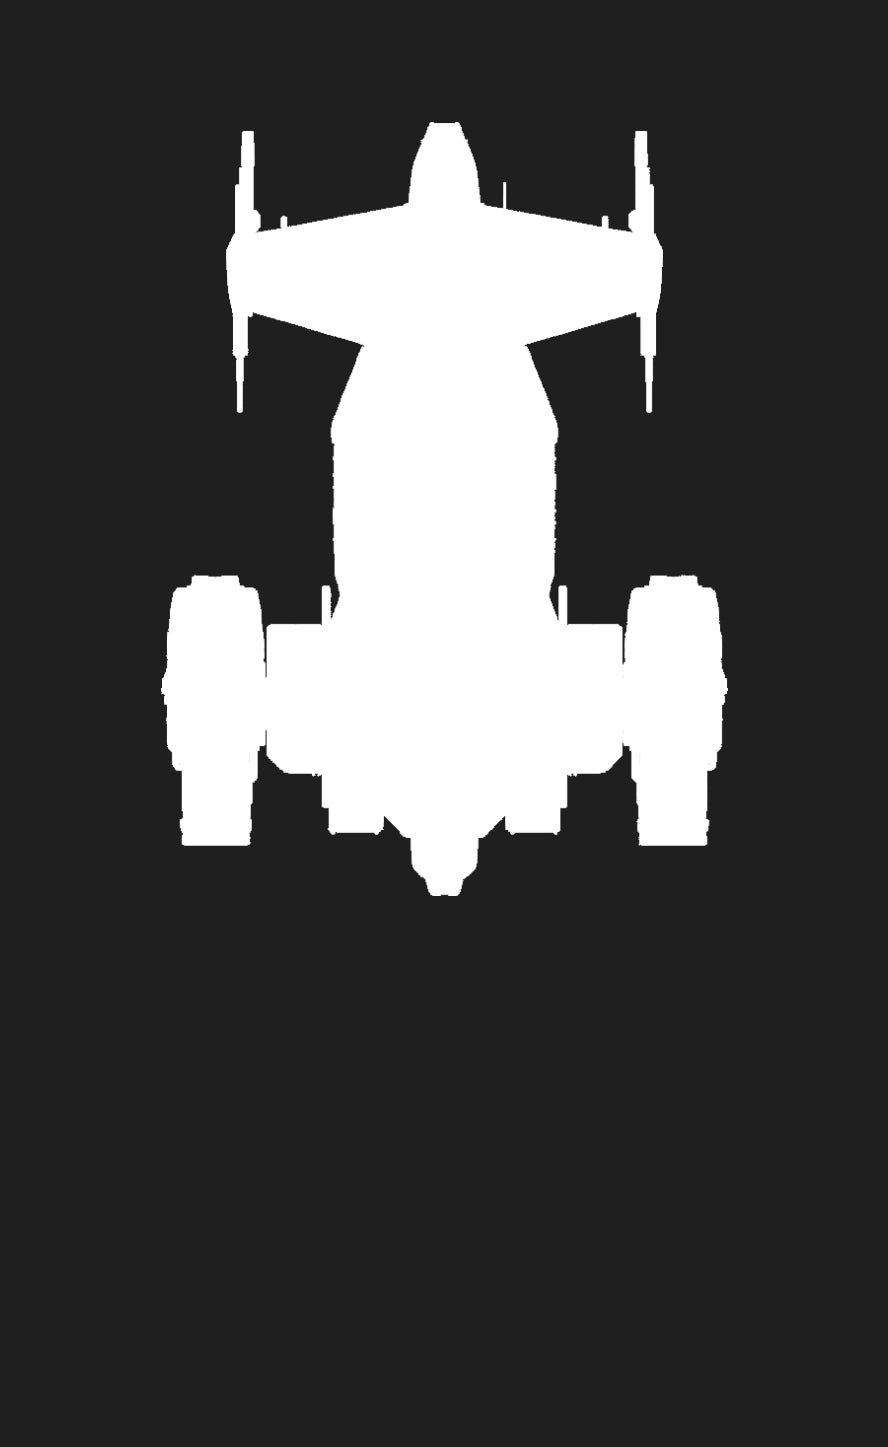
-
Anvil Pisces C8R
Small, agile rescue craft. Seats a crew of two plus patient, with 1x Tier 3 bed.
-
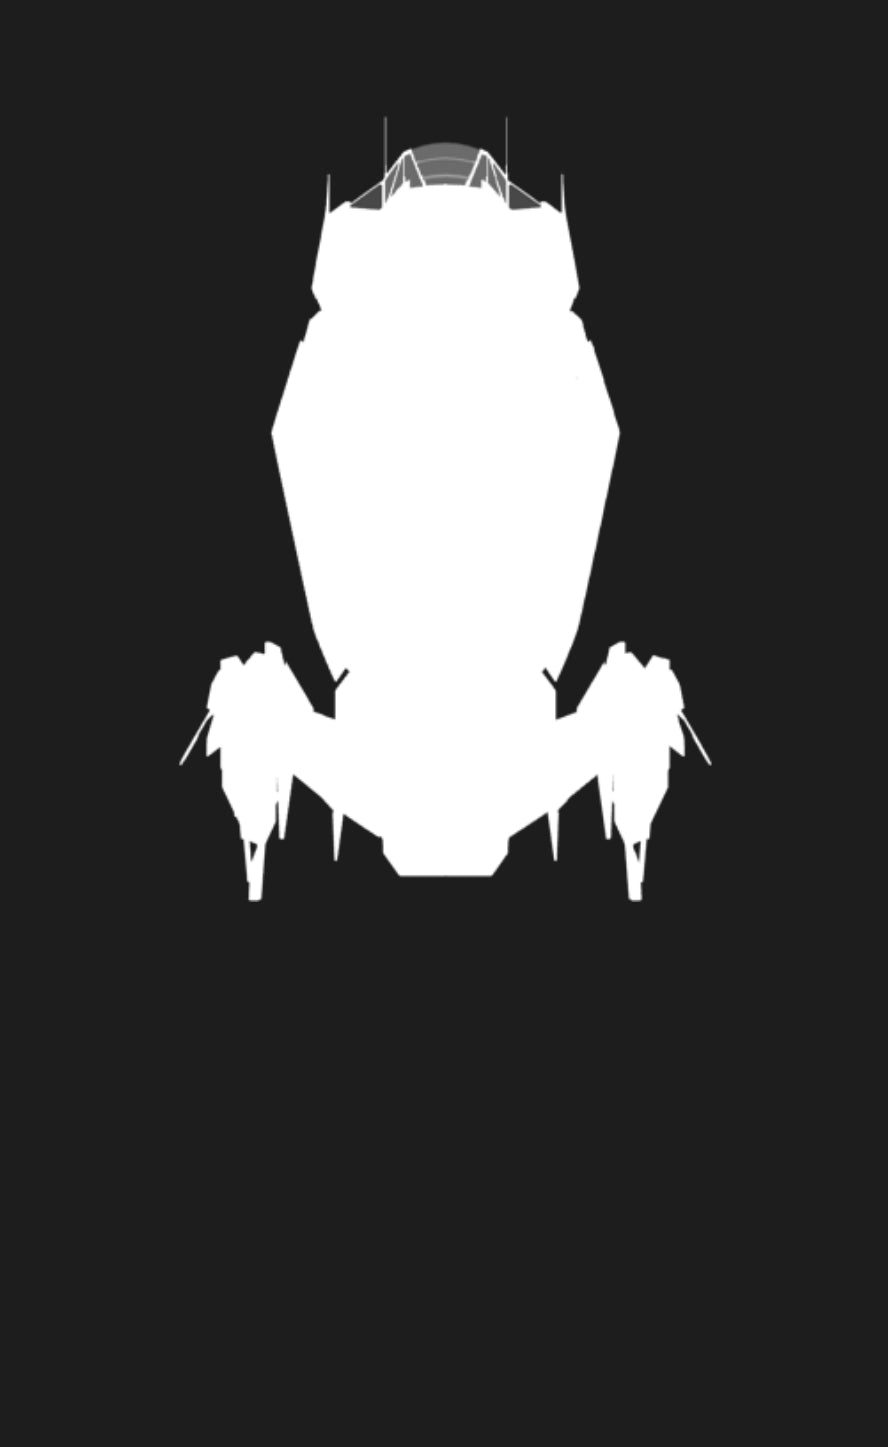
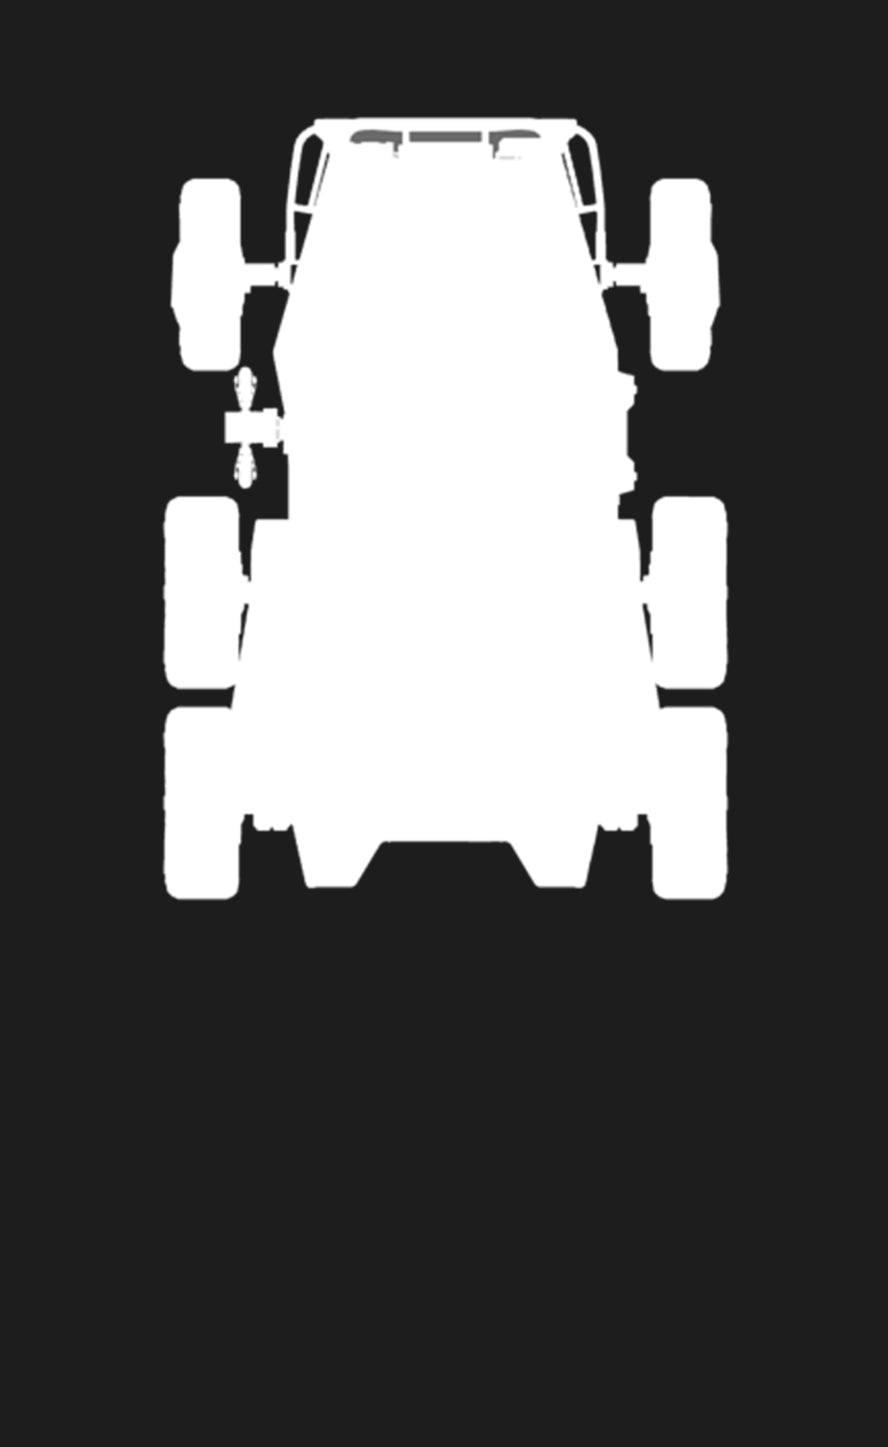
RSI Ursa Medivac
First ground vehicle with a med bed. Two crew plus patient and 1x Tier 3 bed.

Clinics & Hospitals
Hospitals and clinics across landing zones and stations provide the same treatment and regeneration functionality and don’t depend on your personal MedGel reserves.

Today & Tomorrow
All of the above is being updated with Alpha 4.3.1. Medical beds, imprinting, and regeneration will keep evolving from here—if you want to dive deeper, the RSI post continues beyond this brief.
Source: RSI Comm-Link


